by Raviteja Santosh
Upgrading A Oracle Data Integrator (ODI) Repository from ODI 11g to ODI 12c
Migrating Oracle Data Integrator (ODI) from version 11g to 12c is not straight forward as exporting and importing it into a new repository. An administrator needs to upgrade the 11g version of the repository to the 12c version so the new features can be incorporated into into the code.
Prerequisites For An ODI 11g to ODI 12C upgrade
Clone
A clone should be made of each original master and work repository on 11g. The Upgrade Assistant does not support repositories distributed on different instances of ODI.
The ODI 12c version now uses unique IDs that follow the GUID convention. This avoids collision during the import of ODI objects and allows for simpler management and consolidation of multiple repositories within any given project.
Backup
Create a backup for each master and work repository (11g). The backup will enable administrators to restore to the initial (pre-upgrade) state, if necessary.
Support
Before the upgrade of schemas, make sure the database supports the newer version. (Note: ODI 12c supports database versions 11.2.0.3 R2 and above.)
Version Upgrade
Only repositories from versions of ODI 11.1.1.6.0 and above can be upgraded to ODI 12c. If the scenario is one where we have to upgrade ODI 10g to ODI 12C, we must first upgrade ODI 10g to ODI 11.1.1.6.0 before performing the ODI 12c upgrade.
After successfully installing ODI 12c using the odi_121200.jar file, Opatch needs to be applied from the odi_1212_opatopatch.rar file available from the same folder downloaded from Oracle Technology Network (OTN).
- Before running a Opatch, shut down all Oracle and ODI services.
- Call the OPtach.bat file available in <Oracle_Home>\OPatch directory
- “opatch napply <download_folder>\odi_1212_opatch”

- Once Opatch is successful, call upgrade utility “ua.bat” from <Oracle_Home>\oracle_common\upgrade\bin folder.

Step-By-Step Upgrade of ODI 11g to ODI 12c
Following are the steps to be performed to upgrade from 11g to ODI 12c.
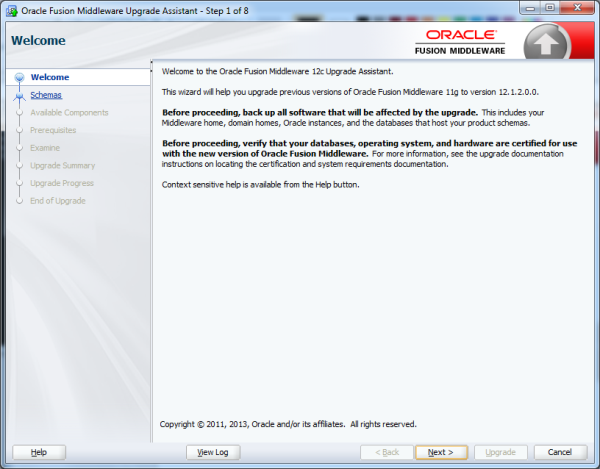
Step 1: Start the Upgrade Assitant and Click Next
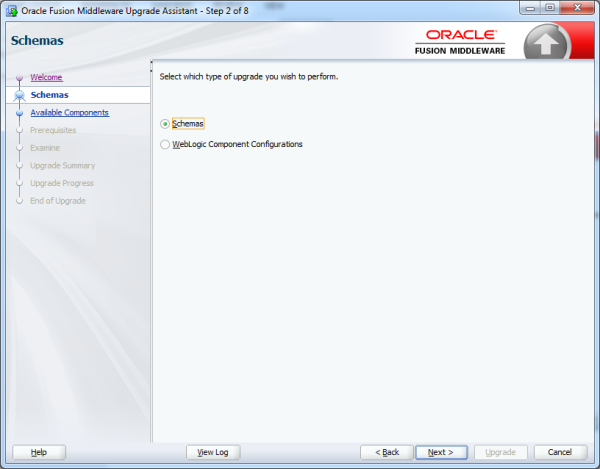
Step 2: Select the Schemas option for the type of upgrade.
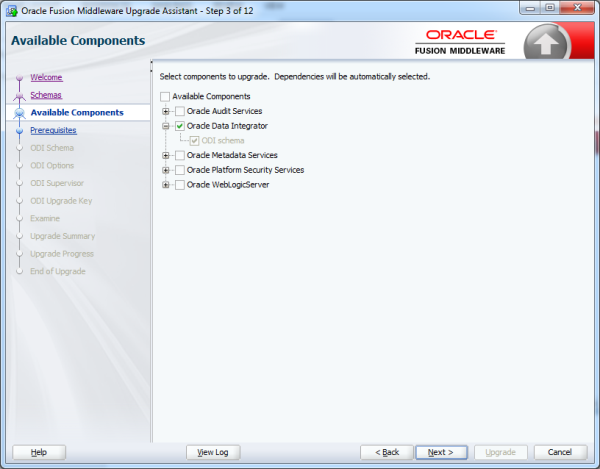
Step 3: Select Oracle Data Integrator and the dependencies will be automatically selected.
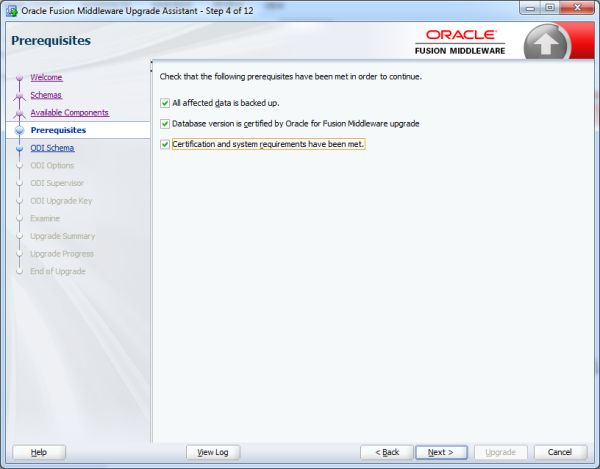
Step 4: Select the prerequisites that are met and then click next.
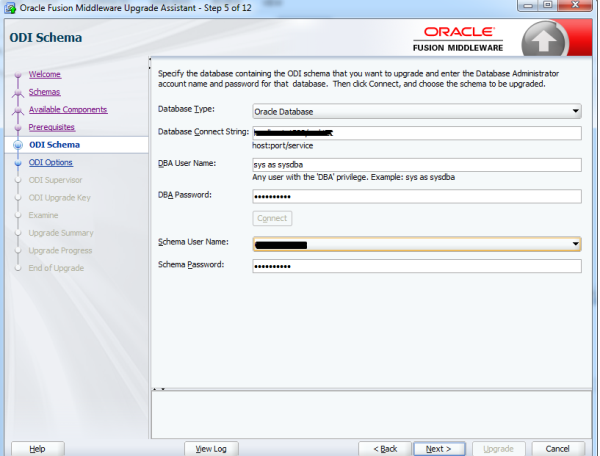
Step 5: Provide a Database Connect String in the given format. Provide DBA credentials and the ODI schema to upgrade.
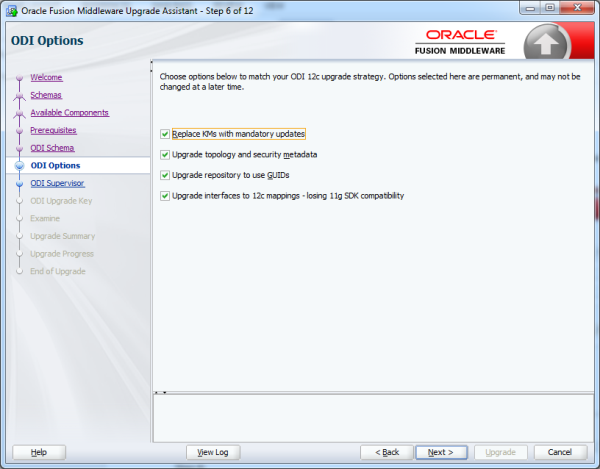
Step 6: Select all options for the upgrade. The options selected here are permanent and may not be changed later.
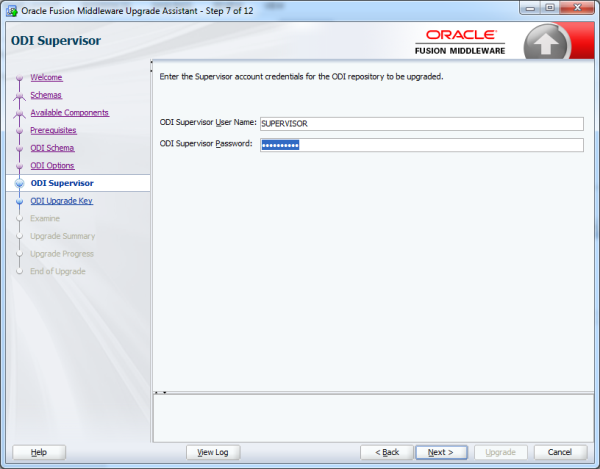
Step 7: Provide credentials of the SUPERVISOR for the ODI repository upgraded.
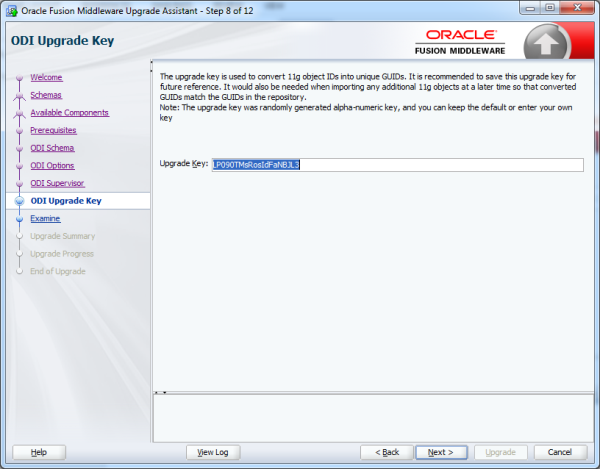
Step 8: Save the auto-generated alpha numeric Upgrade Key to convert 11g object IDs to unique GUIDs. Additional 11g objects can be imported later so the converted GUIDs match the GUIDs in the repository. You can provide a different upgrade key or leave as default.
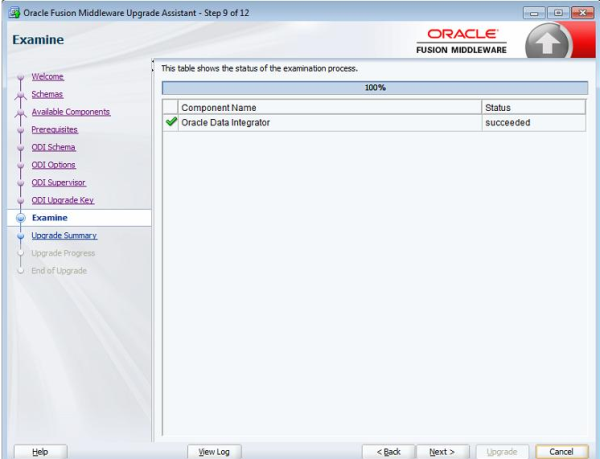
Step 9: Examine the status of the upgrade. Once done, click next to check the summary. When successful, a notification with the Status = "succeeded" will signify the successful upgrade of the repository.
|
Raviteja Santosh is a Senior Consultant at KPI Partners. Raviteja is a business intelligence and data integration expert who has specialized in complex utilization of data integration platforms. Check out Raviteja's blog at KPIPartners.com. |